

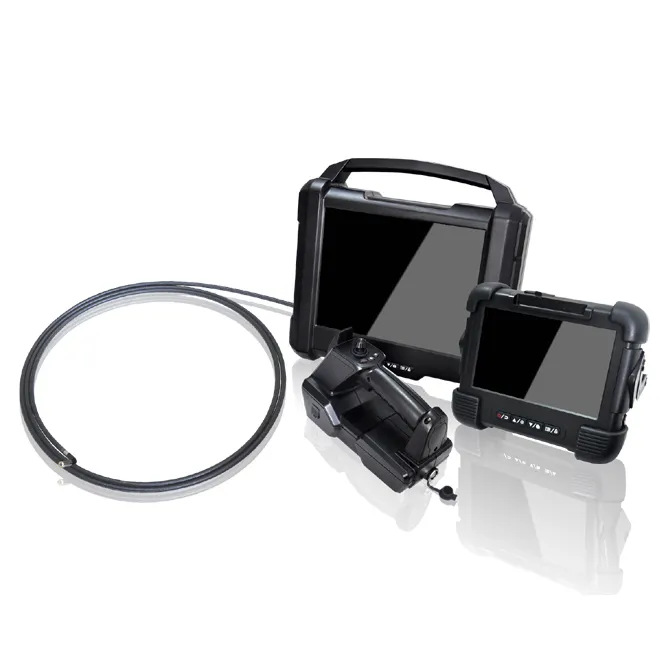
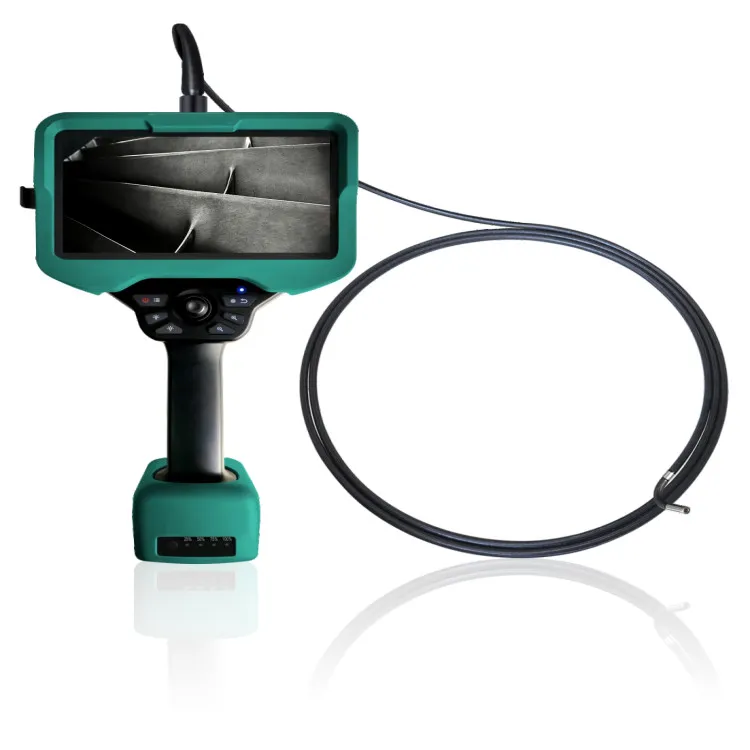
Cleaning the probe of a videoscope is a crucial maintenance task that ensures accurate inspections and prolongs the lifespan of the equipment. As a supplier of high - quality videoscopes, including the High Performance Industrial Videoscope, Industrial Videoscope, and High Performance Multifunctional Industrial Videoscope, I understand the importance of proper probe cleaning. In this blog, I will share detailed steps and best practices on how to clean the probe of a videoscope effectively.
Why Cleaning the Videoscope Probe is Essential
Before delving into the cleaning process, it's important to understand why cleaning the videoscope probe is so vital. The probe is the most critical part of the videoscope as it is directly inserted into the areas to be inspected. Over time, it can accumulate various contaminants such as dust, oil, grease, and debris. These contaminants can not only obscure the view during inspections but also damage the delicate components of the probe, including the camera lens and lighting system. Moreover, if the probe is not cleaned properly, it can carry contaminants from one inspection site to another, leading to inaccurate results and potential cross - contamination.
Pre - cleaning Preparations
- Gather the Necessary Tools: You will need a soft - bristle brush, lint - free wipes, isopropyl alcohol (70% or higher), distilled water, a clean container, and a probe cleaning kit if available. The soft - bristle brush is used to gently remove loose debris, while the lint - free wipes are for wiping and drying the probe. Isopropyl alcohol is an effective cleaning agent that can dissolve grease and disinfect the probe, and distilled water is used for rinsing.
- Power Off the Videoscope: Before starting the cleaning process, make sure to turn off the videoscope and unplug it from the power source. This is a safety precaution to prevent any electrical hazards and to avoid damage to the equipment.
- Inspect the Probe: Carefully examine the probe for any visible damage, such as cracks, bent wires, or loose connections. If you notice any damage, do not attempt to clean the probe yourself. Instead, contact our technical support team for further assistance.
Step - by - Step Cleaning Process
- Remove Loose Debris: Use the soft - bristle brush to gently brush the surface of the probe. Start from the tip of the probe and work your way back towards the connector. Be careful not to apply too much pressure as this can damage the probe. This step helps to remove any loose dust, dirt, or debris that may be adhering to the probe.
- Prepare the Cleaning Solution: In a clean container, mix isopropyl alcohol and distilled water in a ratio of 1:1. This solution is effective for cleaning and disinfecting the probe without leaving any residue.
- Clean the Probe Tip: Dip a lint - free wipe into the cleaning solution and wring it out slightly so that it is damp but not dripping. Gently wipe the tip of the probe, including the camera lens and the lighting elements. Make sure to clean all sides of the tip thoroughly. You can also use a probe cleaning swab if available to reach into small crevices and clean hard - to - reach areas.
- Clean the Probe Shaft: Use the damp lint - free wipe to clean the shaft of the probe. Start from the tip and move towards the connector, wiping in a smooth, continuous motion. Pay special attention to any areas where there may be stubborn contaminants. If necessary, you can use the soft - bristle brush to gently scrub these areas.
- Rinse the Probe: After cleaning the probe with the alcohol - water solution, dip a clean lint - free wipe into distilled water and wring it out. Use this damp wipe to rinse the probe and remove any remaining cleaning solution. Make sure to rinse all parts of the probe, including the tip and the shaft.
- Dry the Probe: Use a dry lint - free wipe to carefully dry the probe. Start from the tip and work your way back towards the connector, making sure to remove all moisture. You can also let the probe air - dry for a few minutes to ensure that it is completely dry before storing or using it again.
Special Considerations for Different Types of Videoscopes
- Fiber - optic Videoscopes: Fiber - optic videoscopes have a delicate fiber - optic bundle that requires special care. When cleaning a fiber - optic videoscope probe, avoid bending the fiber - optic bundle too sharply as this can cause damage. Use a very soft brush and gentle pressure when cleaning the probe tip to prevent scratching the fiber - optic elements.
- Digital Videoscopes: Digital videoscopes have a camera chip at the tip of the probe. When cleaning the probe, be extremely careful not to touch the camera chip directly with the brush or wipes. Instead, use a soft, dry brush to remove any dust from the chip and a damp wipe to clean the surrounding areas.
Post - cleaning Checks
- Inspect the Probe Again: After cleaning and drying the probe, inspect it again to ensure that all contaminants have been removed and that there is no damage. Check the camera lens to make sure it is clear and free of streaks.
- Test the Videoscope: Reconnect the videoscope to the power source and turn it on. Check the image quality on the display screen. If the image is still blurry or distorted, it may indicate that the probe was not cleaned properly or that there is an underlying issue with the equipment. In this case, contact our technical support team.
Storage of the Cleaned Probe
Once the probe is clean and dry, store it in a clean, dry place. You can use a probe storage case to protect it from dust and damage. Make sure to coil the probe gently without kinking it. If possible, store the probe in a vertical position to prevent any fluid from accumulating inside the probe.
Regular Cleaning Schedule
To maintain the performance of your videoscope, it is recommended to clean the probe after each use. However, if the probe is used in a particularly dirty or contaminated environment, it may need to be cleaned more frequently. Regular cleaning not only ensures accurate inspections but also extends the lifespan of the probe and the entire videoscope system.
Conclusion
Cleaning the probe of a videoscope is a relatively simple but essential process that requires attention to detail and the use of the right tools and techniques. By following the steps outlined in this blog, you can ensure that your videoscope probe remains in good condition and provides accurate inspection results. If you have any questions or need further assistance with cleaning your videoscope probe, or if you are interested in purchasing our high - performance videoscopes such as the High Performance Industrial Videoscope, Industrial Videoscope, or High Performance Multifunctional Industrial Videoscope, please feel free to contact us for procurement and further discussions.
References
- Manufacturer's Manuals for Videoscopes
- Industry Standards for Videoscope Maintenance and Cleaning