

Hey there! As an IoT Gateway supplier, I've had my fair share of experiences with the installation process. And let me tell you, it's not as complicated as it might seem at first glance. In this blog, I'm gonna walk you through the steps on how to install an IoT Gateway.
Step 1: Understand Your Requirements
Before you even start thinking about installation, you gotta understand what you need from your IoT Gateway. Are you looking to connect a bunch of sensors in a factory? Or maybe you're setting up a smart home system? Different use - cases will require different configurations.
For example, if you're dealing with a large - scale industrial setup, you might need a gateway with high - speed data processing capabilities and support for multiple communication protocols. On the other hand, a home IoT setup might be more focused on ease of use and compatibility with common smart devices.
Step 2: Choose the Right Location
The location of your IoT Gateway is crucial. It needs to be placed in an area where it can have a stable network connection and proper ventilation. If you're using Wi - Fi, make sure it's close enough to your router to get a strong signal.
In an industrial environment, you might want to mount the gateway on a rack or a wall. This not only saves space but also keeps it away from potential hazards. And don't forget about the temperature and humidity. Extreme conditions can affect the performance of your gateway.
Step 3: Gather Your Tools
You'll need a few basic tools for the installation. A screwdriver is a must - have if you're mounting the gateway. You might also need Ethernet cables, power cords, and any other cables specific to your gateway model.
If you're using a gateway that supports wireless communication, make sure your Wi - Fi network is up and running. And if you're dealing with a cellular gateway, you'll need a SIM card with an active data plan.
Step 4: Physical Installation
Now it's time to get your hands dirty. If you're mounting the gateway on a wall or a rack, use the screwdriver to secure it in place. Make sure it's firmly attached so it doesn't fall off later.
Connect the power cord to the gateway and plug it into a power outlet. If you're using Ethernet, connect one end of the cable to the gateway's Ethernet port and the other end to your router or switch.
Step 5: Configure the Gateway
Once the physical installation is done, it's time to configure the gateway. Most gateways come with a web - based interface that you can access through a browser. Open your browser and enter the IP address of the gateway.
You'll usually be prompted to enter a username and password. This is for security reasons. Once you're logged in, you can start configuring the settings. You'll need to set up the network connection, whether it's Wi - Fi, Ethernet, or cellular.
You can also configure the communication protocols that the gateway will support. For example, if you're connecting sensors that use Modbus, you'll need to enable the Modbus protocol on the gateway.
Step 6: Connect Your Devices
After configuring the gateway, it's time to connect your IoT devices. This could be anything from sensors to actuators. Each device will have its own way of connecting to the gateway.
Some devices might use Wi - Fi, while others might use a wired connection. Follow the manufacturer's instructions for each device to ensure a proper connection.
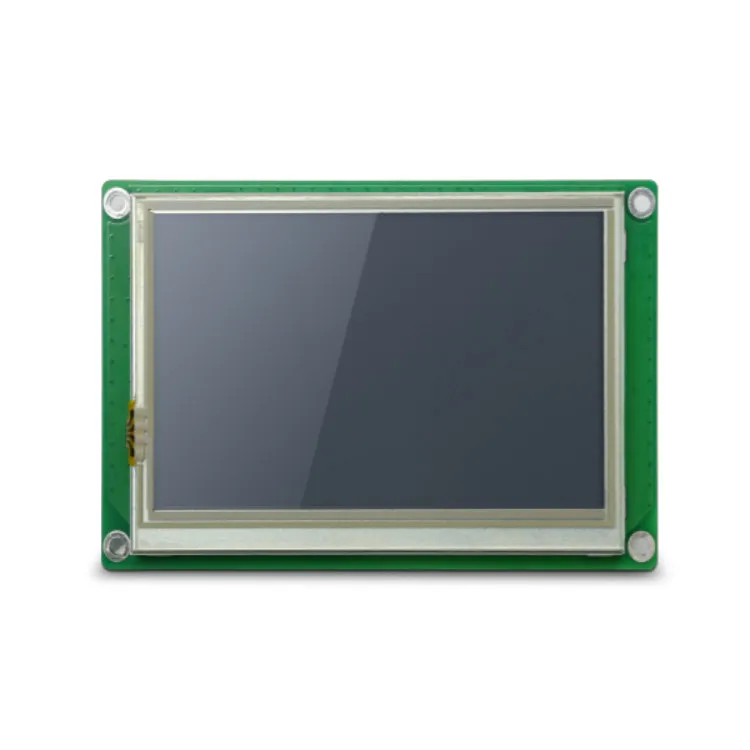
If you're using a gateway with support for Embedded HMI, you can monitor and control your connected devices directly from the HMI interface. This provides a more intuitive way to manage your IoT system.
Step 7: Test the Connection
Once all your devices are connected, it's time to test the connection. Check if your devices are communicating with the gateway. You can do this by checking the status indicators on the gateway or using the monitoring tools provided by the gateway's software.
If you're having trouble with the connection, double - check your settings and make sure all the cables are properly connected. You might also need to troubleshoot your network if there are issues with the Wi - Fi or Ethernet connection.
Step 8: Security Setup
Security is a big deal when it comes to IoT. You don't want your data to be compromised. Most gateways come with built - in security features such as firewalls and encryption.

Configure these security settings to protect your network and devices. You can set up access control lists to restrict who can access the gateway and your connected devices. And make sure to keep your gateway's firmware up - to - date to patch any security vulnerabilities.
Step 9: Monitoring and Maintenance
Once your IoT Gateway is up and running, you need to monitor its performance regularly. Check the system logs for any errors or warnings. You can also use monitoring tools to track the data traffic and the health of your connected devices.
Perform regular maintenance tasks such as cleaning the gateway and checking the cables for any signs of wear and tear. If you notice any issues, address them immediately to avoid downtime.
Step 10: Expand Your System
As your IoT needs grow, you might want to expand your system. You can add more devices to the gateway or even connect multiple gateways together.
If you're looking for high - quality touch - screen options for your IoT system, you can check out Car Touch Screen and Waterproof Touch Screen. These touch screens can enhance the user experience and provide better control over your IoT devices.
So there you have it, a step - by - step guide on how to install an IoT Gateway. If you have any questions or need further assistance, don't hesitate to reach out. We're here to help you make the most of your IoT system. Whether you're a small business owner or an industrial giant, we have the right IoT Gateway solutions for you. Contact us today to start a conversation about your specific needs and let's work together to build a powerful IoT network.
References
- IoT Gateway Installation Manuals
- Industry Best Practices for IoT Deployment
- Manufacturer's Documentation for IoT Devices