
As a supplier of Counter Sensors, I understand the importance of ensuring these devices function accurately and reliably. In this blog post, I'll share a comprehensive guide on how to test a counter sensor, covering the necessary steps, tools, and considerations.
Understanding the Counter Sensor
Before diving into the testing process, it's crucial to have a clear understanding of what a counter sensor is and how it works. A Counter Sensor is a type of optoelectronic sensor designed to detect and count objects as they pass through its detection field. These sensors are widely used in various industries, including manufacturing, packaging, and logistics, to monitor production rates, track inventory, and ensure quality control.
Counter sensors typically use infrared light to detect objects. When an object passes through the sensor's detection field, it interrupts the infrared beam, causing the sensor to generate an electrical signal. This signal is then processed by the sensor's internal circuitry to increment a counter, which keeps track of the number of objects detected.
Tools Required for Testing
To test a counter sensor effectively, you'll need the following tools:
- Power Supply: A stable power supply is essential to provide the necessary voltage and current to the sensor. Make sure the power supply meets the sensor's specifications.
- Multimeter: A multimeter is used to measure the electrical parameters of the sensor, such as voltage, current, and resistance. This helps to verify the sensor's functionality and detect any potential issues.
- Test Object: You'll need a test object that is similar in size and shape to the objects the sensor will be used to detect in its actual application. This could be a small piece of metal, plastic, or cardboard.
- Oscilloscope (Optional): An oscilloscope can be used to visualize the electrical signals generated by the sensor. This is particularly useful for troubleshooting and analyzing the sensor's performance.
Testing Steps
Now that you have the necessary tools, let's walk through the steps to test a counter sensor:
Step 1: Power On the Sensor
Connect the sensor to the power supply and turn it on. Make sure the power supply voltage is within the sensor's specified range. You can use a multimeter to measure the voltage at the sensor's power terminals to verify this.
Step 2: Check the Sensor's Output
Most counter sensors have an output signal that indicates the number of objects detected. This output can be in the form of a digital pulse, a voltage level, or a current signal. Use a multimeter to measure the output signal and check if it is within the expected range.
If the sensor has a digital output, you can use a logic analyzer or a microcontroller to monitor the output pulses. Make sure the pulses are of the correct frequency and duration, and that they correspond to the number of objects passing through the sensor's detection field.
Step 3: Test the Sensor's Detection Range
Place the test object in front of the sensor and slowly move it through the detection field. Observe the sensor's output signal to see if it changes as the object passes through. The sensor should detect the object and generate an output signal each time the object interrupts the infrared beam.
Measure the minimum and maximum distances at which the sensor can detect the test object. This will give you an idea of the sensor's detection range. Make sure the detection range is within the specifications provided by the manufacturer.
Step 4: Check for False Triggers
False triggers occur when the sensor generates an output signal even when there is no object passing through its detection field. This can be caused by various factors, such as ambient light, electrical interference, or a malfunctioning sensor.
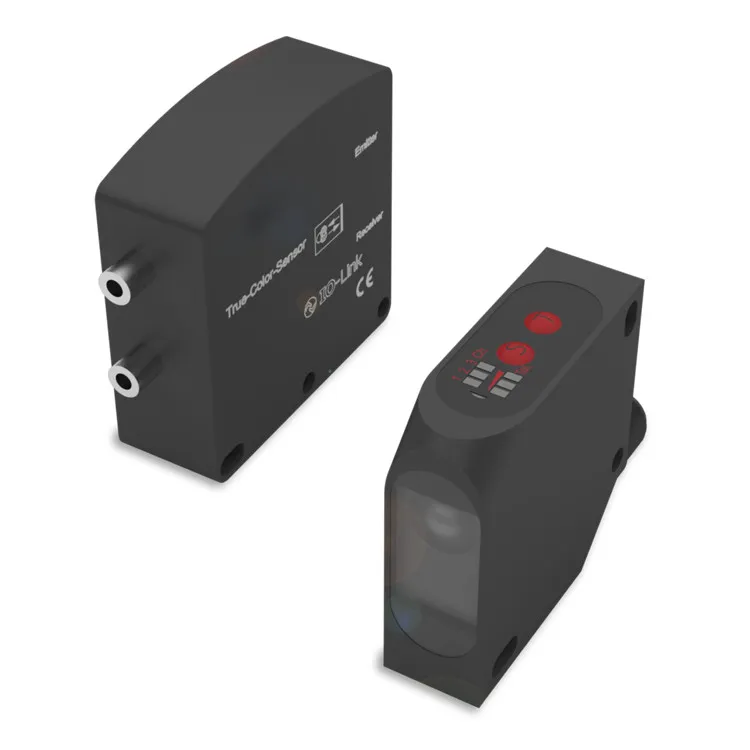
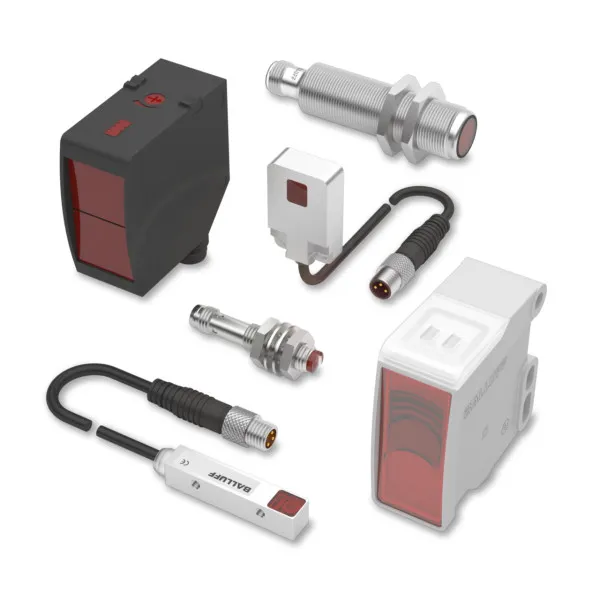
To check for false triggers, place the sensor in a stable environment with no objects in its detection field. Monitor the sensor's output signal for a few minutes to see if it generates any false pulses. If you notice any false triggers, try to identify the source of the problem and take appropriate measures to eliminate it.
Step 5: Test the Sensor's Response Time
The response time of a counter sensor is the time it takes for the sensor to detect an object and generate an output signal. This is an important parameter, especially in applications where high-speed counting is required.
To test the sensor's response time, use an oscilloscope to visualize the sensor's output signal. Place the test object in front of the sensor and quickly move it through the detection field. Measure the time it takes for the sensor's output signal to change from its idle state to its active state. This will give you an idea of the sensor's response time.
Step 6: Test the Sensor's Accuracy
The accuracy of a counter sensor refers to its ability to count objects correctly. To test the sensor's accuracy, place a known number of test objects in front of the sensor and pass them through the detection field one by one. Compare the number of objects counted by the sensor with the actual number of objects.
If the sensor's count is inaccurate, check for any potential issues, such as false triggers, a misaligned sensor, or a malfunctioning counter circuit. Make the necessary adjustments and repeat the test until the sensor's count is accurate.
Considerations and Troubleshooting
Here are some additional considerations and troubleshooting tips to keep in mind when testing a counter sensor:
- Ambient Light: Ambient light can interfere with the sensor's operation, especially if it is of a similar wavelength to the infrared light used by the sensor. Make sure to test the sensor in a controlled environment with minimal ambient light. If necessary, use a shield or a filter to block out the ambient light.
- Electrical Interference: Electrical interference from nearby equipment or power lines can also affect the sensor's performance. Make sure to keep the sensor away from sources of electrical interference and use shielded cables to connect the sensor to the power supply and other devices.
- Sensor Alignment: Proper alignment of the sensor is crucial for accurate detection. Make sure the sensor is installed correctly and that its detection field is aligned with the path of the objects to be counted.
- Sensor Calibration: Some counter sensors may require calibration to ensure accurate operation. Refer to the sensor's user manual for instructions on how to calibrate the sensor.
- Troubleshooting: If you encounter any issues during the testing process, refer to the sensor's user manual for troubleshooting tips. You can also contact the sensor's manufacturer or supplier for further assistance.
Conclusion
Testing a counter sensor is an important step in ensuring its proper functionality and reliability. By following the steps outlined in this blog post and using the appropriate tools, you can effectively test a counter sensor and identify any potential issues. Remember to consider the environmental factors, sensor alignment, and calibration requirements to ensure accurate and consistent performance.
If you're in the market for a high-quality counter sensor or need further assistance with testing or troubleshooting, please don't hesitate to contact us. Our team of experts is here to help you find the right sensor for your application and provide you with the support you need.